WUMSTOT 16 × 24 inch Manual Heat Press Machine — User Manual
↑↑↑↑↑↑↑↑↑↑↑↑↑↑↑↑↑↑↑↑↑↑↑↑
Thank you for choosing and trust WUMSTOT!
Your 16 × 24 inch Manual Heat Press Machine is a precision‑engineered professional tool designed for high‑quality printing results in DTF, sublimation, and other heat‑transfer applications.
This guide will help you install, operate, and maintain your press for the best possible results.
Very Very Important :
Please note when using:
After receiving your Heat Press Machine, the machine has two pads, one is silica gel pad (temperature equalization) and the other is ivory sponge pad (pressure equalization).
And 2 pad should be used at the same time.
Please note the silicone pad is on top, and the sponge pad is below the silicone pad.
⚡ 1. Electrical Specifications & Installation Requirements
| Parameter |
Specification |
| Voltage |
110 V AC, 60 Hz (Single Phase) |
| Power |
2000 Watts |
| Current (calculated) |
2000 W ÷ 110 V ≈ 18.2 Amps |
| Recommended Circuit Breaker |
20 Amp dedicated circuit |
| Minimum Wire Gauge |
12 AWG copper (or thicker) |
| Outlet Type |
NEMA 5‑20R grounded receptacle |
| Plug Type (Machine) |
NEMA 5‑15P or 5‑20P, depending on version |
⚙️ Power Setup Notes
- Plug the machine into a dedicated 20‑amp grounded circuit — avoid sharing the same outlet with other high‑wattage equipment.
- Use a 12‑AWG minimum heavy‑duty extension cord (under 10 ft long) if needed.
- Ensure proper grounding connection to avoid electrical noise or static buildup.
- If your circuit breaker trips, check wire gauge or outlet capacity before resuming operation.
- Never operate from undersized residential power strips — use a direct wall outlet.
2. Safety & Operating Preparation
- Place the heat press on a stable, heat‑resistant surface.
- Keep away from liquids, flammable materials, and curtains.
- Always turn off the power and unplug before cleaning or maintenance.
- Allow 30 minutes of cooling time before moving or covering the machine.
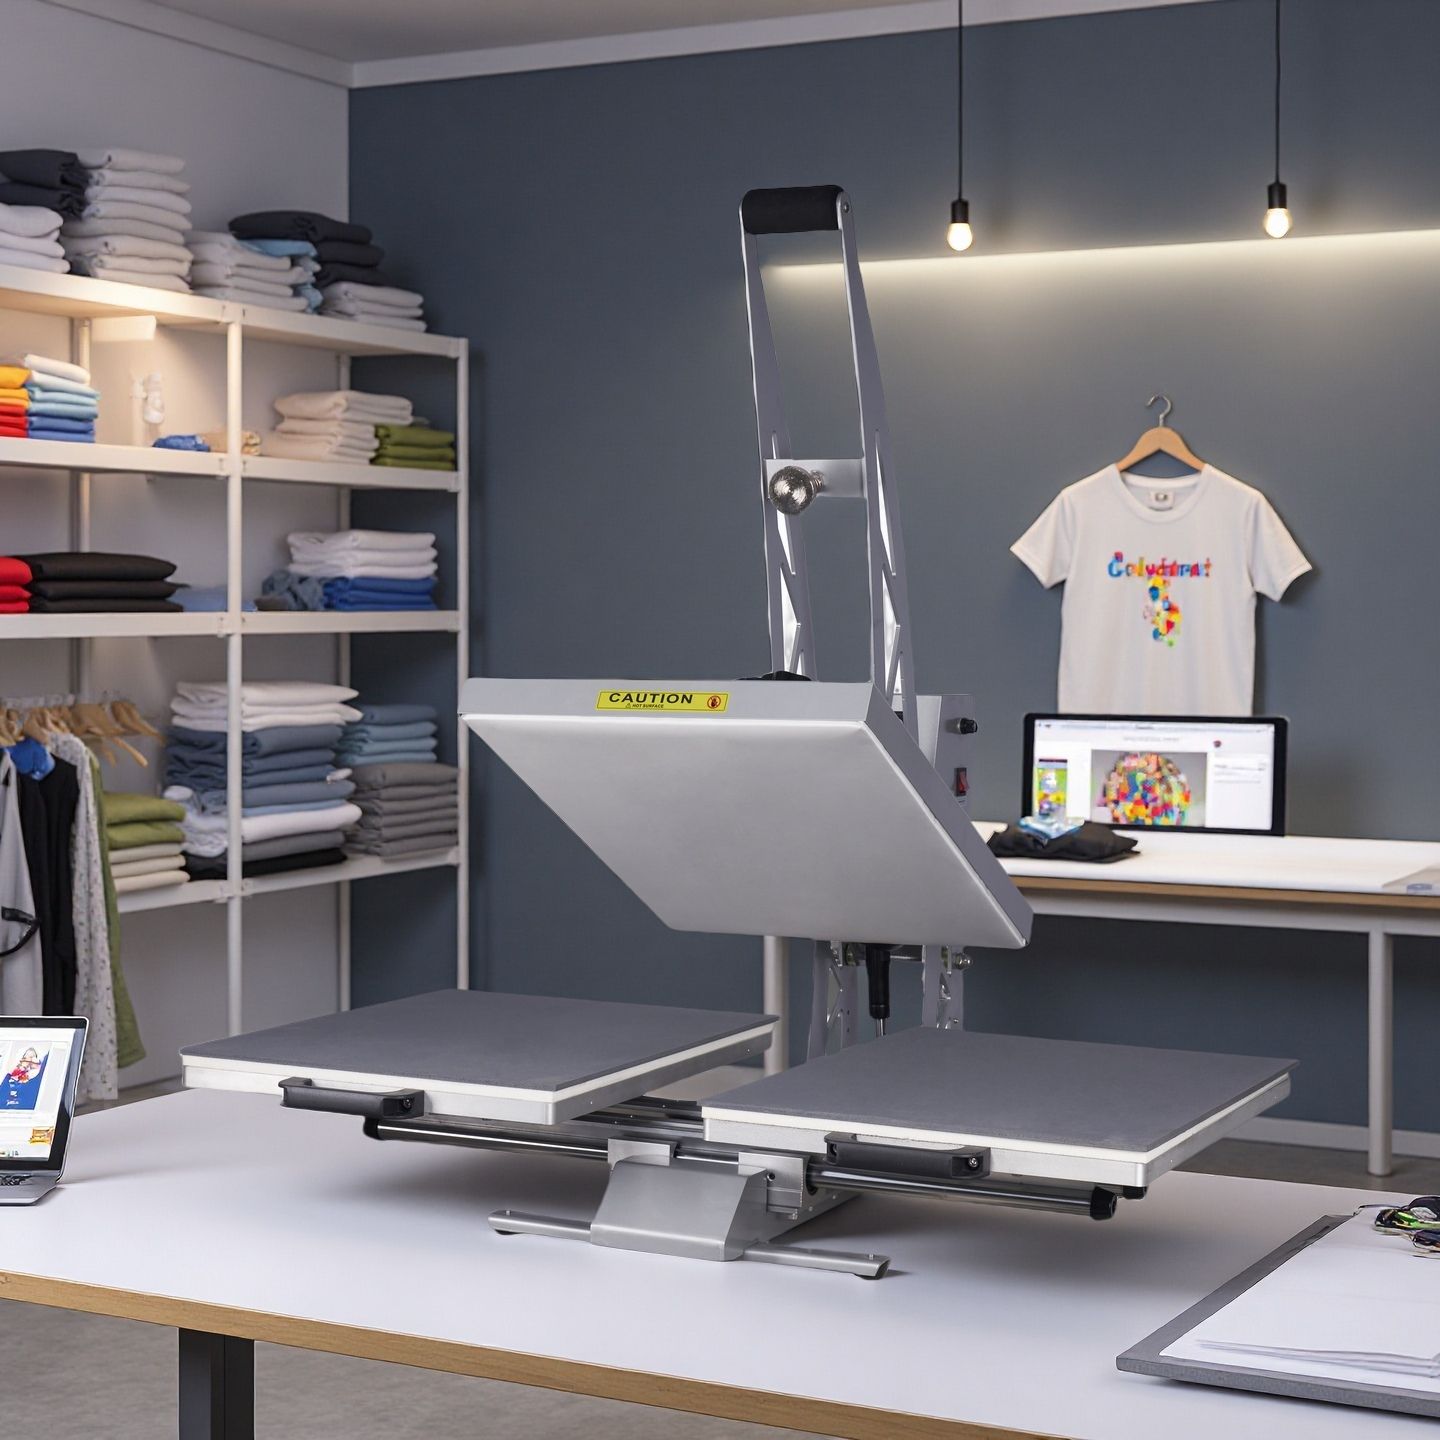
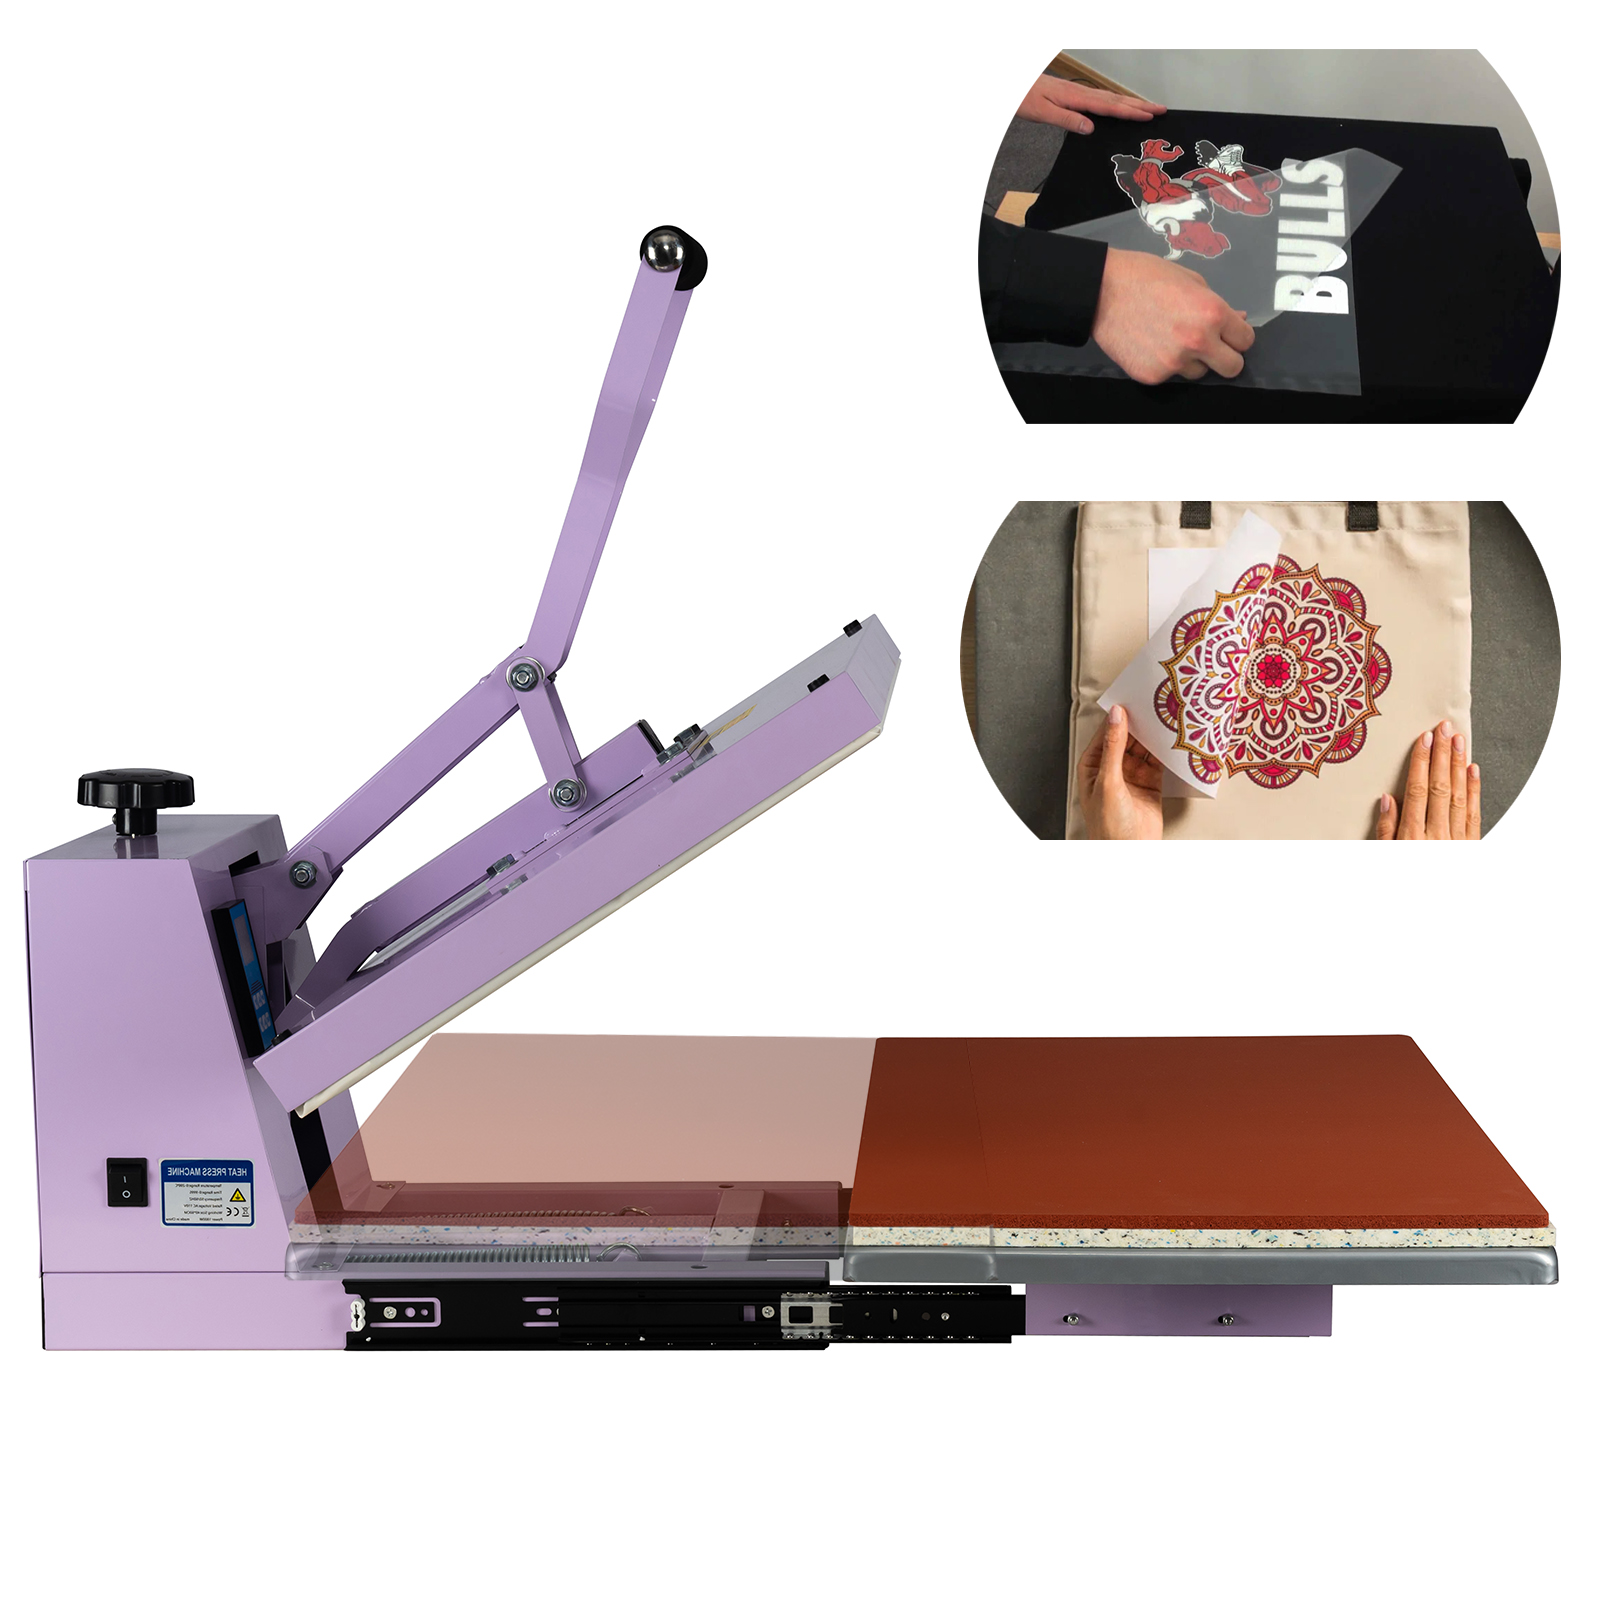
3. Component Overview
- Upper heating platen — industrial aluminum plate with U‑shaped internal heating tubes.
- Lower platen — equipped with silicone and foam pads for uniform pressure.
- Pressure adjustment knob — controls pressing force.
- Digital controller — sets both temperature (°F) and time (seconds).
4. Basic Operating Steps
-
Power On & Set Temperature/Time
- Turn the main switch to ON.
- Set target temperature and time on the digital controller.
- Wait for the displayed temperature to reach the set point.
-
Pre‑Press Garment
- Place substrate on the lower platen.
- Close the press for 2–3 seconds to remove moisture and wrinkles.
-
Position Transfer
- Place DTF or sublimation sheet where desired.
- Cover with a Teflon sheet or protective paper.
-
Press & Release
- Lock the handle firmly.
- Timer starts automatically; open when it buzzes.
- Remove the item carefully.
-
Post‑Press (for DTF or Sublimation)
- Let sublimated pieces cool before handling.
- For DTF, perform a quick 5‑second second press with a Teflon sheet to cure the design.
5. Troubleshooting — When Results Are Not Satisfactory
If colors appear light, uneven, or faded, review these key factors:
A. Pressure
- Place an A4 sheet of paper on the lower platen.
- Close the upper platen and pull the paper:
- Hard to pull out → Correct pressure
- Easy to pull out → Increase pressure by turning the knob clockwise.
B. Temperature
- The display shows the internal heater temperature, not surface temperature.
- IR thermometer readings may appear 10–20 °F lower.
- If colors are pale, raise temperature by 20–30 °F and wait 3–5 minutes before pressing again.
C. Time
- If both temperature and pressure are correct, but transfer is dull, extend pressing time by 5–10 seconds.
- Record your successful combination for future use.
📋 Tip: Once perfect results are achieved, record temperature, time, and fabric type for reference.
6. Recommended Settings
| Material |
Transfer Type |
Temperature (°F) |
Time (sec) |
Pressure |
| 100% Cotton |
DTF |
330 – 350 |
12 – 15 |
Medium‑High |
| Cotton‑Poly Blend |
DTF |
325 – 340 |
10 – 12 |
Medium |
| 100% Polyester |
Sublimation |
385 – 400 |
40 – 60 |
Medium |
| Canvas / Linen |
Sublimation |
370 – 390 |
35 – 45 |
Medium |
| Metal (Aluminum Panels, Tags) |
Sublimation |
385 – 400 |
55 – 70 |
Firm |
| Acrylic / Plastic Items |
Sublimation |
350 – 370 |
40 – 50 |
Light‑Medium |
| Ceramic Tiles / Mugs (with mug wrap) |
Sublimation |
400 |
180 – 210 |
Medium |
Always pre‑press garment and test small samples before mass production.
7. Maintenance
- Wipe the platen with a soft cloth after daily use.
- Never scratch or scrape the aluminum surface.
- Power off and let cool before covering or moving.
Professional Note
Each fabric and coated substrate reacts differently to heat, pressure, and time. Fine‑tuning is part of professional heat‑press work — once your ideal settings are found, your WUMSTOT Heat Press will deliver stable, repeatable, commercial‑grade results for years.
Daniel
Founder & Owner — WUMSTOT
📞 +1 213‑708‑7008