Please watch this short video first. It shows the proper method for assembling the stand, securing the press, and verifying balance before connecting power.
⚙️ 2. Product Overview
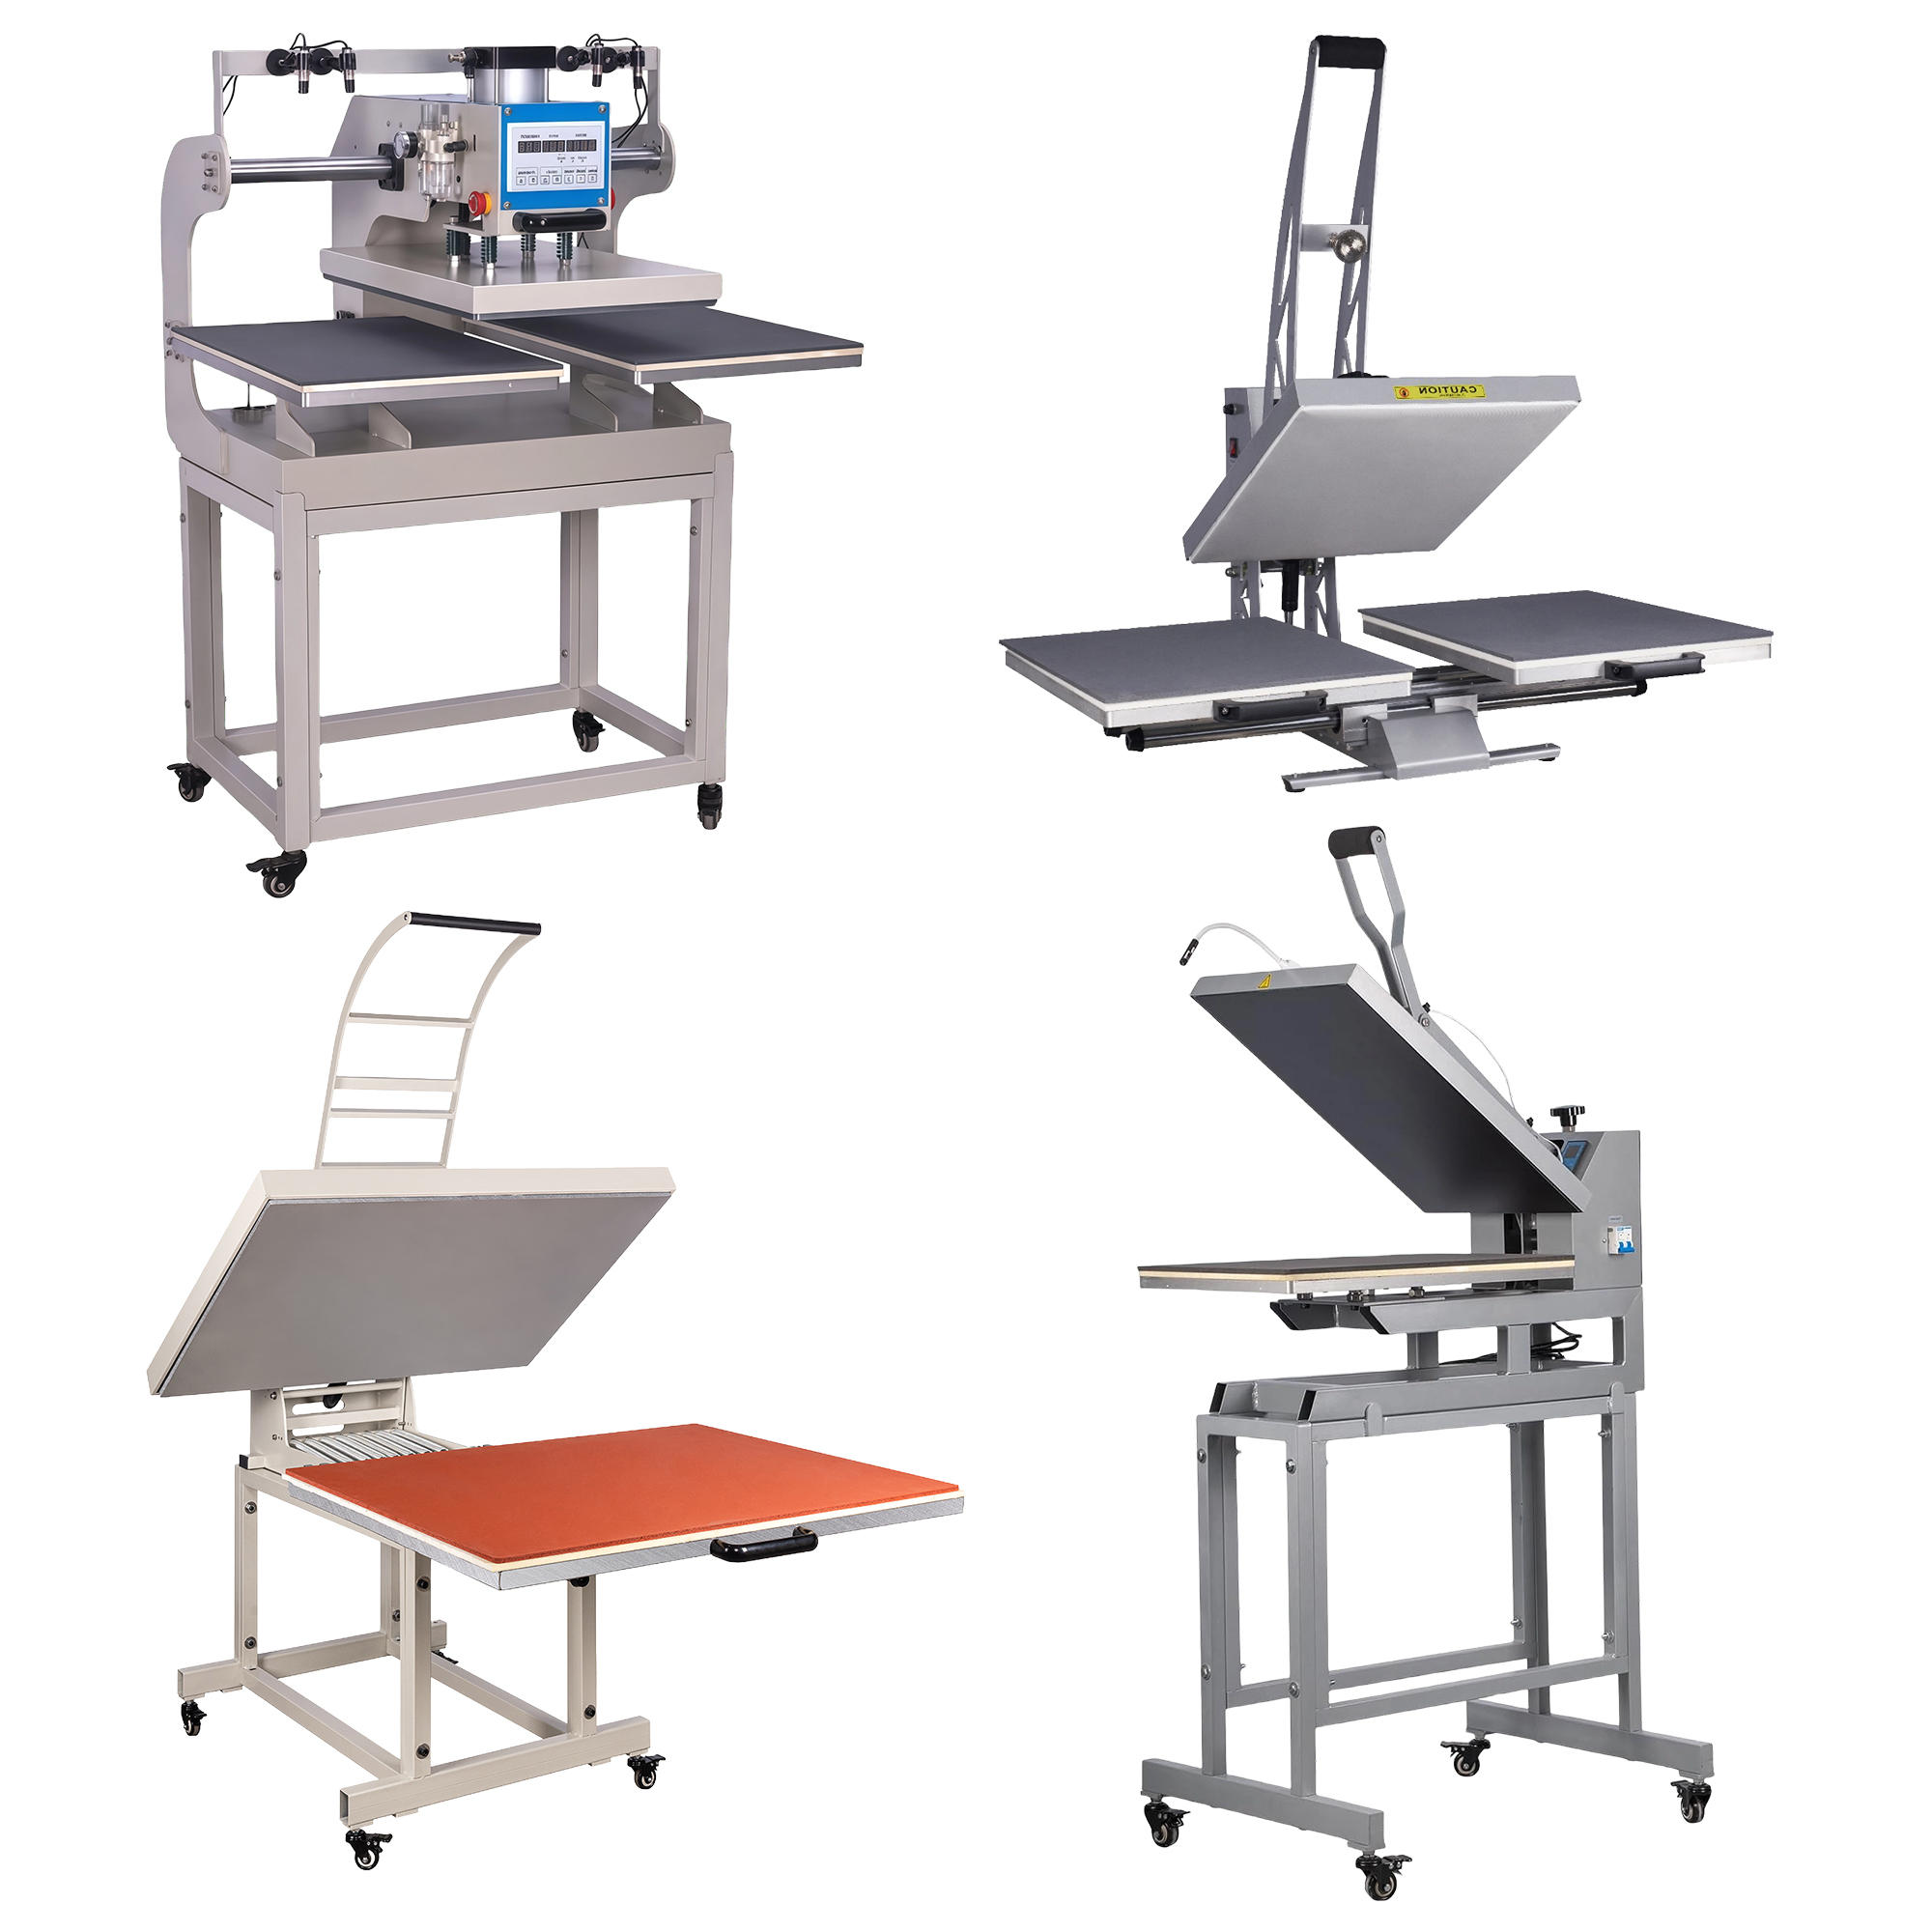
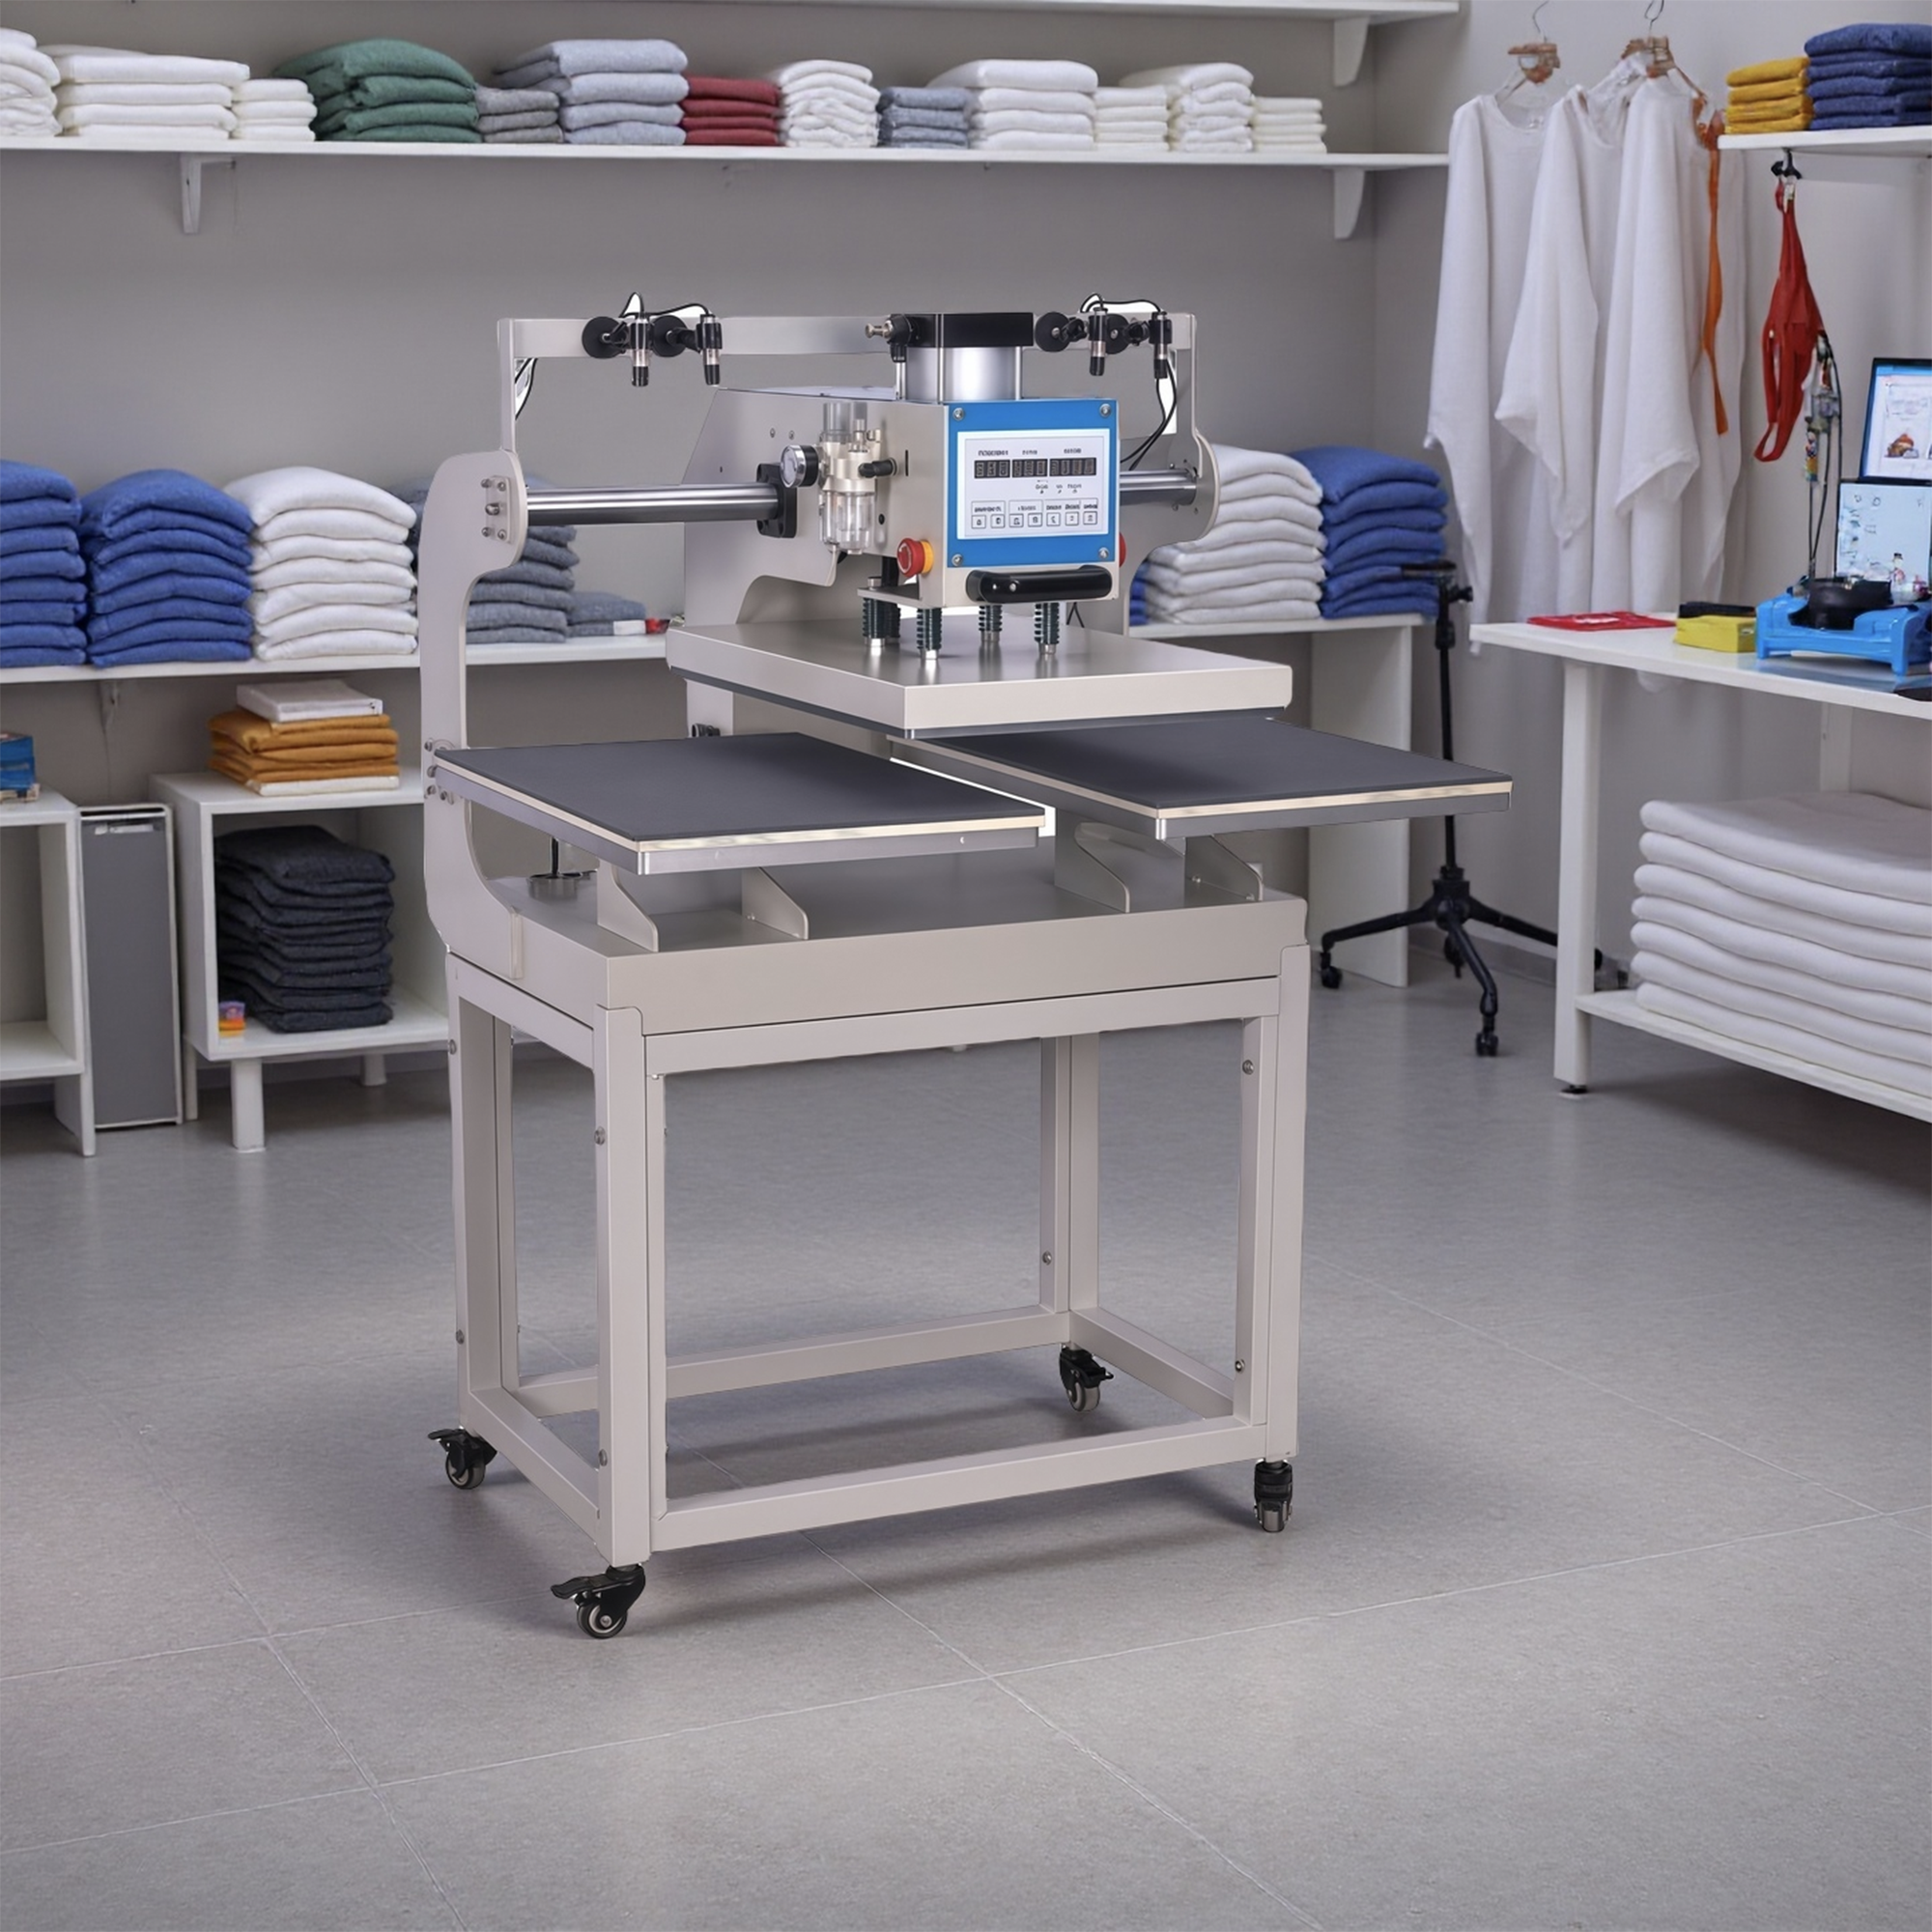
Thank you for choosing the WUMSTOT 16 × 24 Manual Heat Press with Stand. This professional model comes with new ergonomic and functional upgrades:
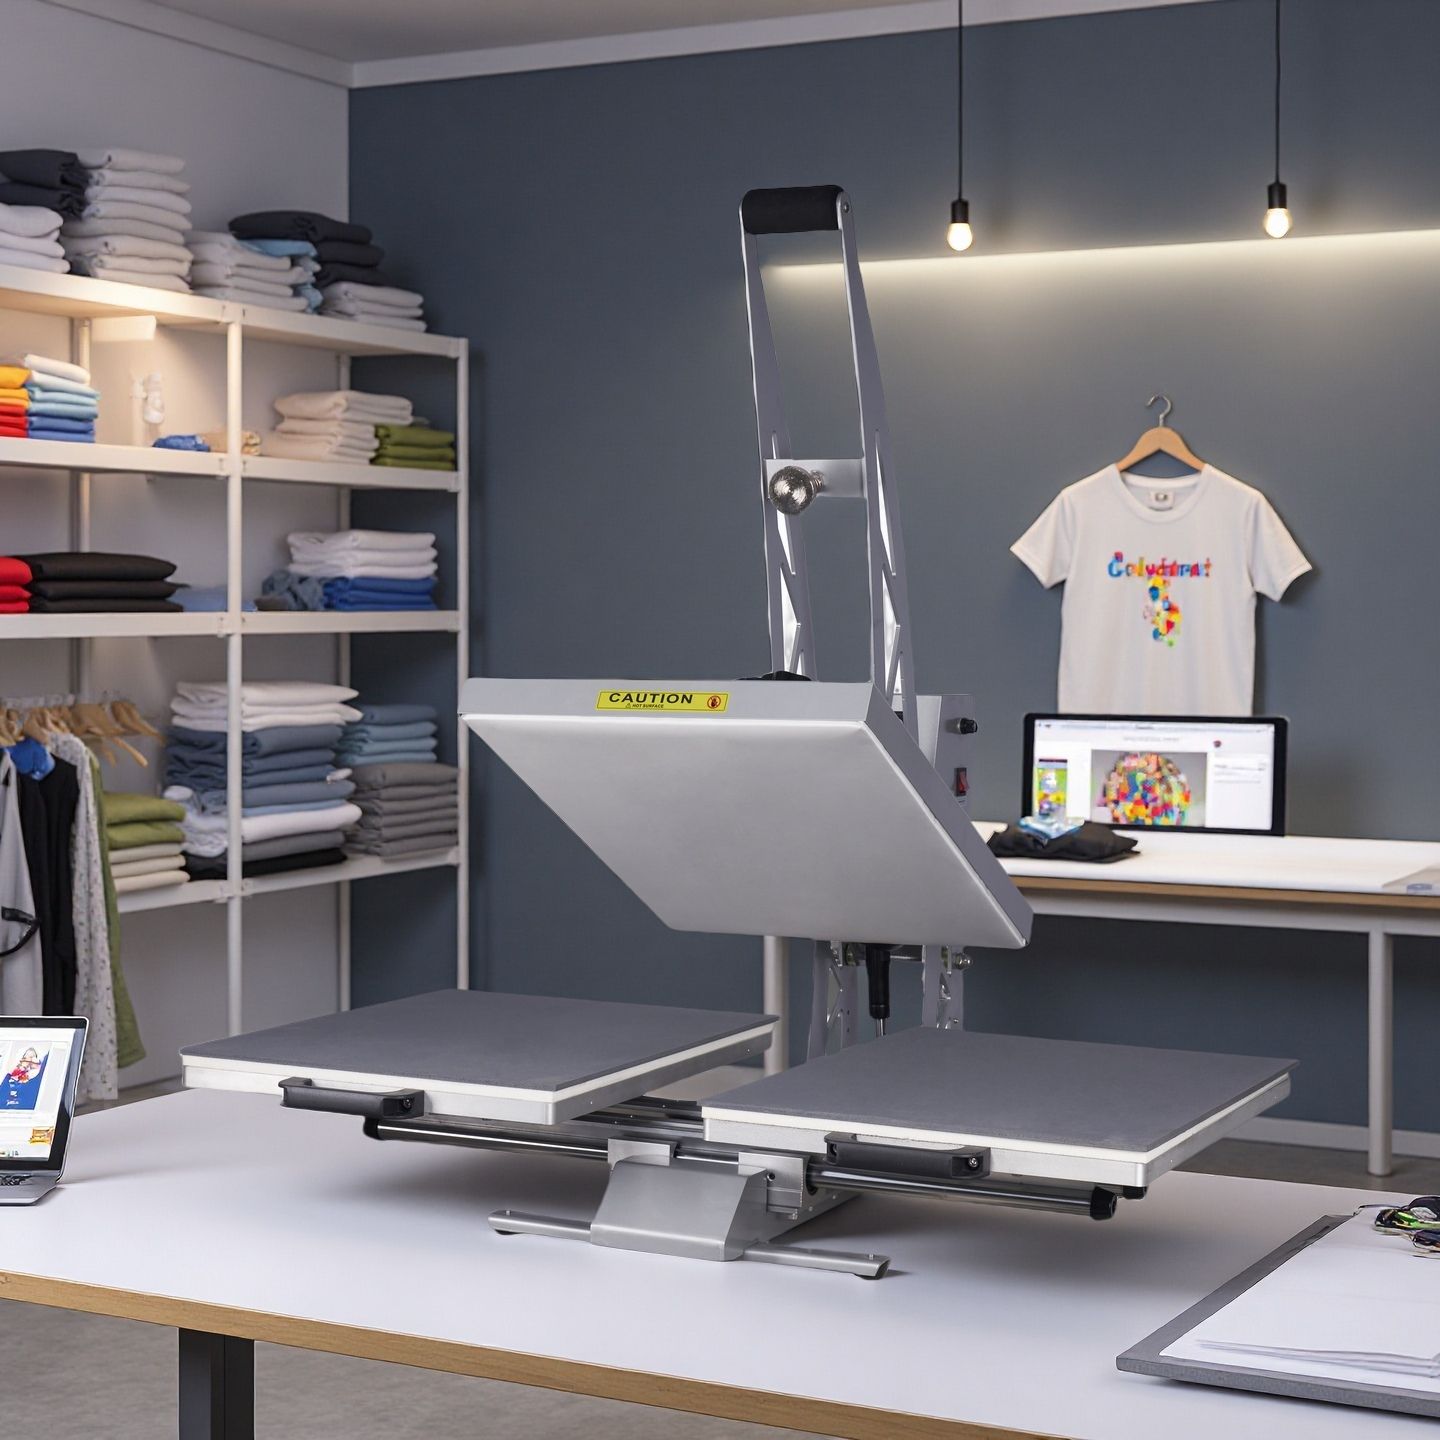
Integrated adjustable stand — provides stability, no table required.
Ergonomic lever arm system — designed using mechanical leverage principles for easier operation and less effort.
Open‑bottom design — the lower area is hollow, allowing garments to be “dressed” over the lower platen for single‑layer pressing.
New! White Cross Laser Positioning System — enables precise alignment of transfer designs.
Power and voltage remain the same: 110 V / 2000 W.
⚡ 3. Electrical Specifications & Power Requirements
Parameter
Specification
Voltage
110 V AC (60 Hz, Single Phase)
Power
2000 Watts
Current Draw
2000 W ÷ 110 V ≈ 18.2 Amps
Recommended Circuit Breaker
20 Amp dedicated circuit
Minimum Wire Gauge
12 AWG copper
Outlet Type
NEMA 5‑20R grounded receptacle
Power Setup Tips
Plug into a dedicated 20 A grounded circuit—avoid sharing power with other high‑watt devices.
Keep extension cords short (< 10 ft) and use 12 AWG minimum.
Check for secure plug contact and proper grounding.
Never operate from standard power strips or multi‑plug adapters.
🧰 4. Stand Assembly Instructions
Unpack Carefully Remove all parts—base frame, legs, crossbar, bolts, and press unit.
Assemble the Stand Connect legs to base using bolts and washers; tighten once aligned. Add the upper crossbar for stability.
Mount the Press With two people, align press brackets to stand slots; insert bolts and tighten firmly.
Adjust Height Set to a comfortable working height before wiring power.
Final Check Verify levelness and tight connections before operation.
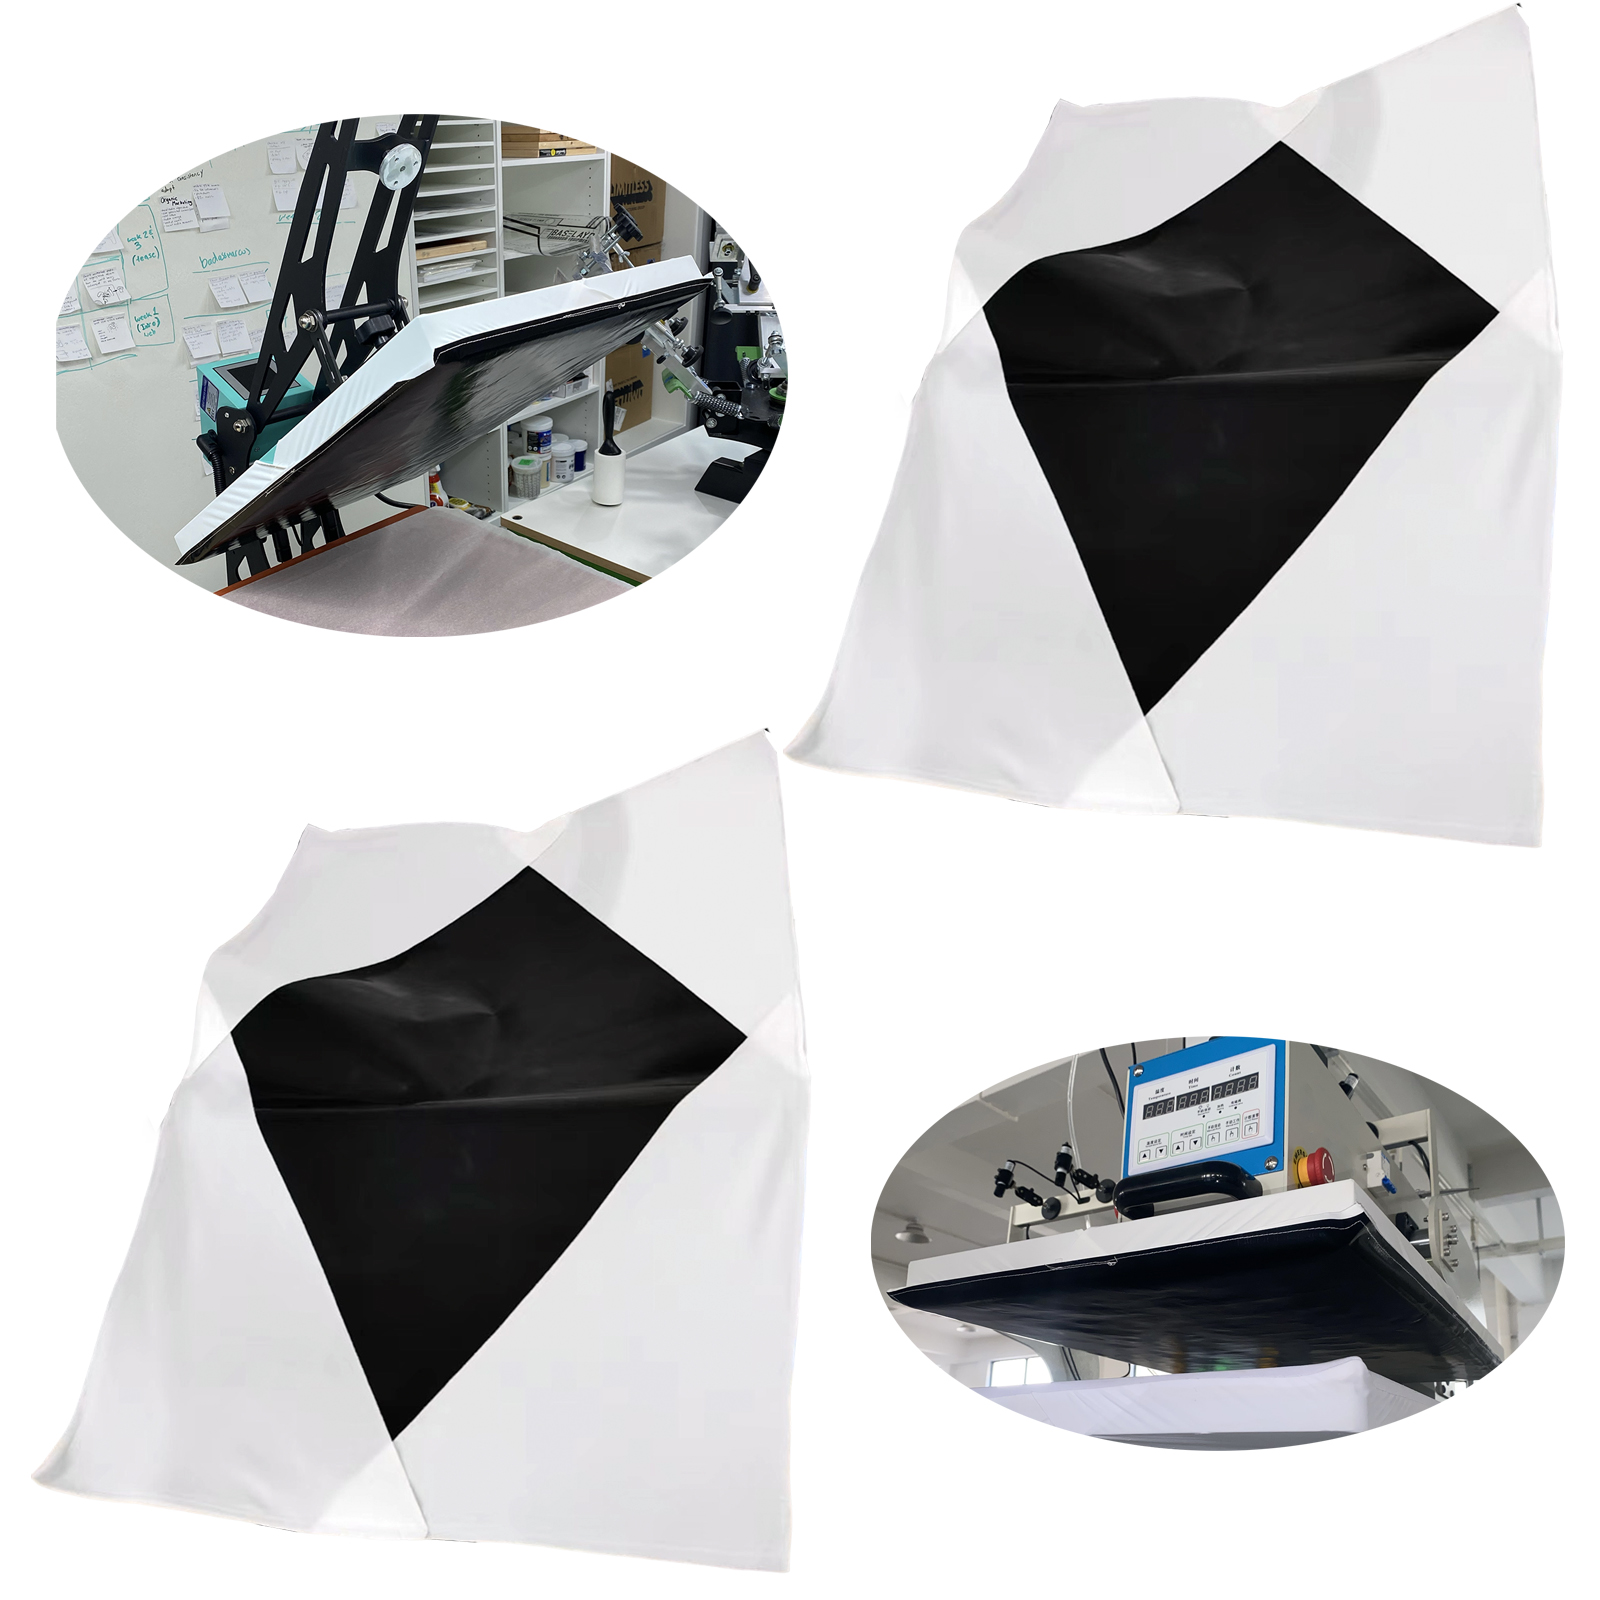
🔥 5. Machine Components
Upper Heating Platen: Industrial‑grade aluminum plate with U‑shaped heating tubes for uniform heat.
Lower Platen: Silicone and foam pads provide even pressure.
Digital Controller: Dual display for temperature (°F) and time (sec).
🔴 6. Cross Laser Positioning System
Your press is equipped with a white cross‑laser infrared positioning head, designed for precise placement of DTF or sublimation graphics.
Installation & Usage:
Locate the magnetic base of the laser unit.
Attach it to the edge of the upper heating platen, as shown in the assembly video.
Switch on the laser — a red cross will project onto the lower platen.
Align your transfer design using the crosshair for accurate, repeatable positioning.
This feature is particularly useful when you need to press multiple items with the same graphic, ensuring consistent alignment and professional quality.
🧑🔧 7. Operating Instructions
Step 1: Power On & Preheat
Turn on the main switch, set desired temperature and time.
Wait until the display reaches the target temperature.
Step 2: Pre‑Press Garment
“Dress” the garment over the lower platen for flat single‑layer heat transfer.
Close lightly for 2‑3 seconds to remove moisture.
Step 3: Align Transfer
Use the laser cross to position your DTF or sublimation paper perfectly.
Cover with a Teflon sheet or protective paper.
Step 4: Press
Pull down the lever smoothly; mechanical leverage lowers effort.
Wait for the timer beep and release.
Step 5: Post‑Press
Remove the item carefully.
DTF: Perform a quick 5‑second final press with Teflon sheet.
Sublimation: Let items cool before lifting.
🧩 8. Troubleshooting for Low Color or Uneven Transfer
Possible Cause
Solution
Pressure too low
Perform A4 paper test; increase pressure until snug.
Temperature too low
Raise setting by 20‑30 °F; wait 5 minutes.
Time too short
Add 5‑10 seconds press time.
✳️ Record your final pressure, temperature, and time once optimal results are achieved.
🎨 9. Recommended Settings for Common Materials
Material
Transfer Type
Temperature (°F)
Time (sec)
Pressure
100% Cotton T‑Shirt
DTF
330 – 350
12 – 15
Medium‑High
Cotton‑Poly Blend
DTF
325 – 340
10 – 12
Medium
100% Polyester
Sublimation
385 – 400
40 – 60
Medium
Canvas / Linen
Sublimation
370 – 390
35 – 45
Medium
Metal (Aluminum Plate)
Sublimation
385 – 400
55 – 70
Firm
Acrylic / Plastic Items
Sublimation
350 – 370
40 – 50
Light‑Medium
Ceramic Tiles or Mugs
Sublimation
400
180 – 210
Medium
Pre‑press garments, test on a small area, and document settings for repeat jobs.
🧽 10. Maintenance & Care
Always disconnect power and allow cooling before cleaning.
Wipe the heating platen with a soft, dry cloth after each use.
Inspect the stand, handle, and bolts regularly to ensure tightness.
Avoid scratching the platen surface.
Keep in a dry, dust‑free environment.
Frequency
Maintenance Action
Daily
Clean surface; turn off power after use
Weekly
Check handle pivot and tighten bolts
Monthly
Inspect cord and outlet
Bi‑Annually
Lightly grease mechanical pivot if needed
📒 11. Professional Notes from Daniel
Every fabric and coated surface reacts differently to heat, pressure, and time. This upgraded model—with its ergonomic lever, stand, and cross‑laser alignment system—was created to help you work faster, more accurately, and with less effort. Once you’ve determined the ideal settings for each material, your WUMSTOT Heat Press will deliver repeatable, professional results for years.